

I’ve hiked Looking Glass Rock many times. It’s the hike I take people on when they’re in the area and want to see a spectacle. I mostly do it for exercise. The climb up and back down demands 3400 feet of ascending and descending, combined. It’s a great workout and good way to practice climbing over mountain passes.
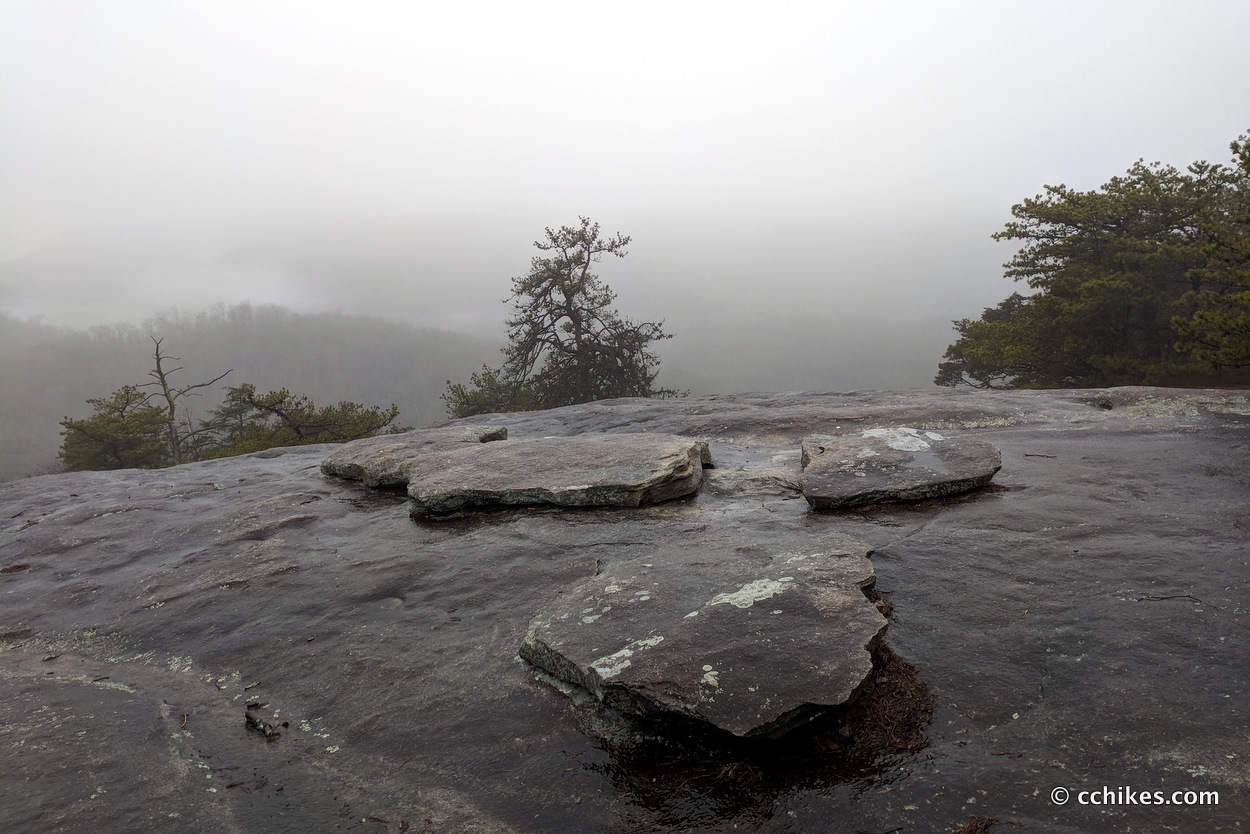
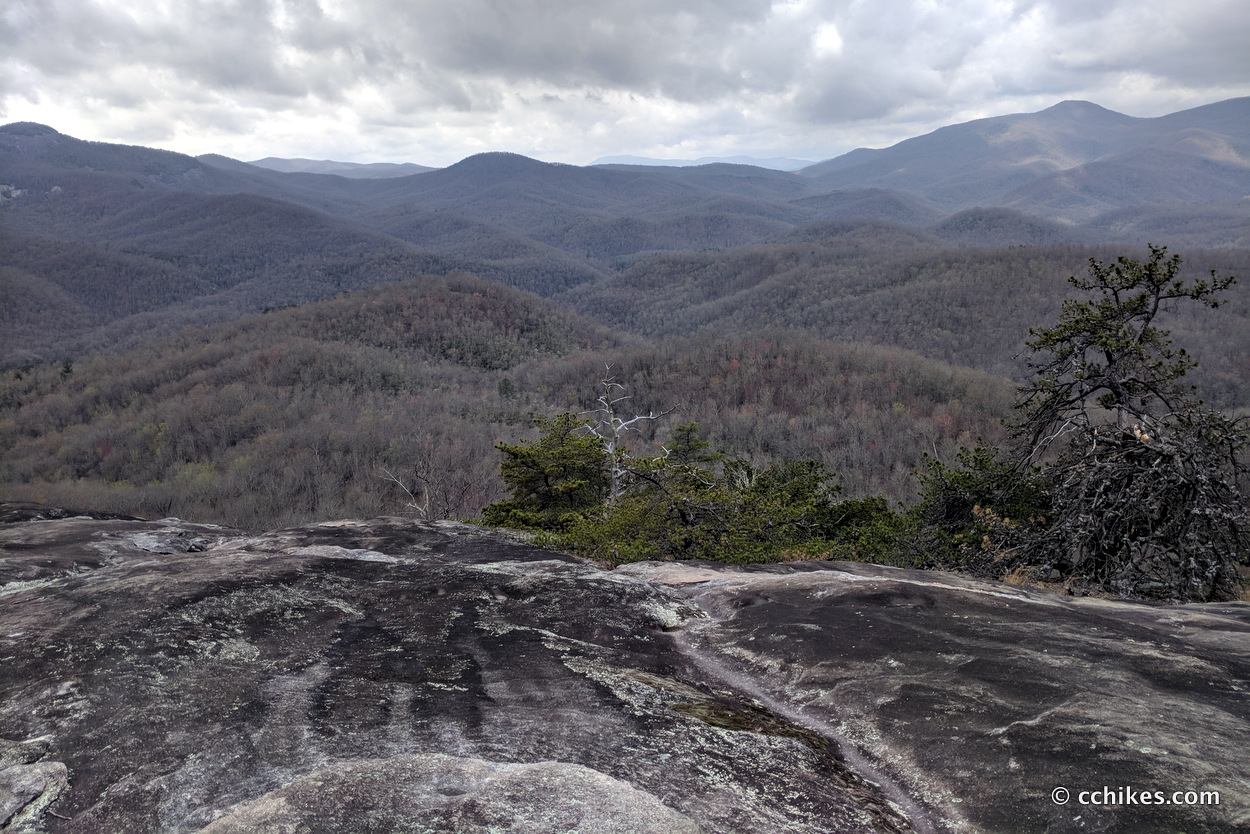
About 2/3 of the way up the mountain, there’s a rocky bald on the left side of the trail. Helicopters use this as a landing pad when hikers and climbers experience emergencies on the mountain. I’ve played around on the rock face, but I never really explored the area. Well, it turns out there’s an overlook at this part of the trail that faces directly at John Rock.
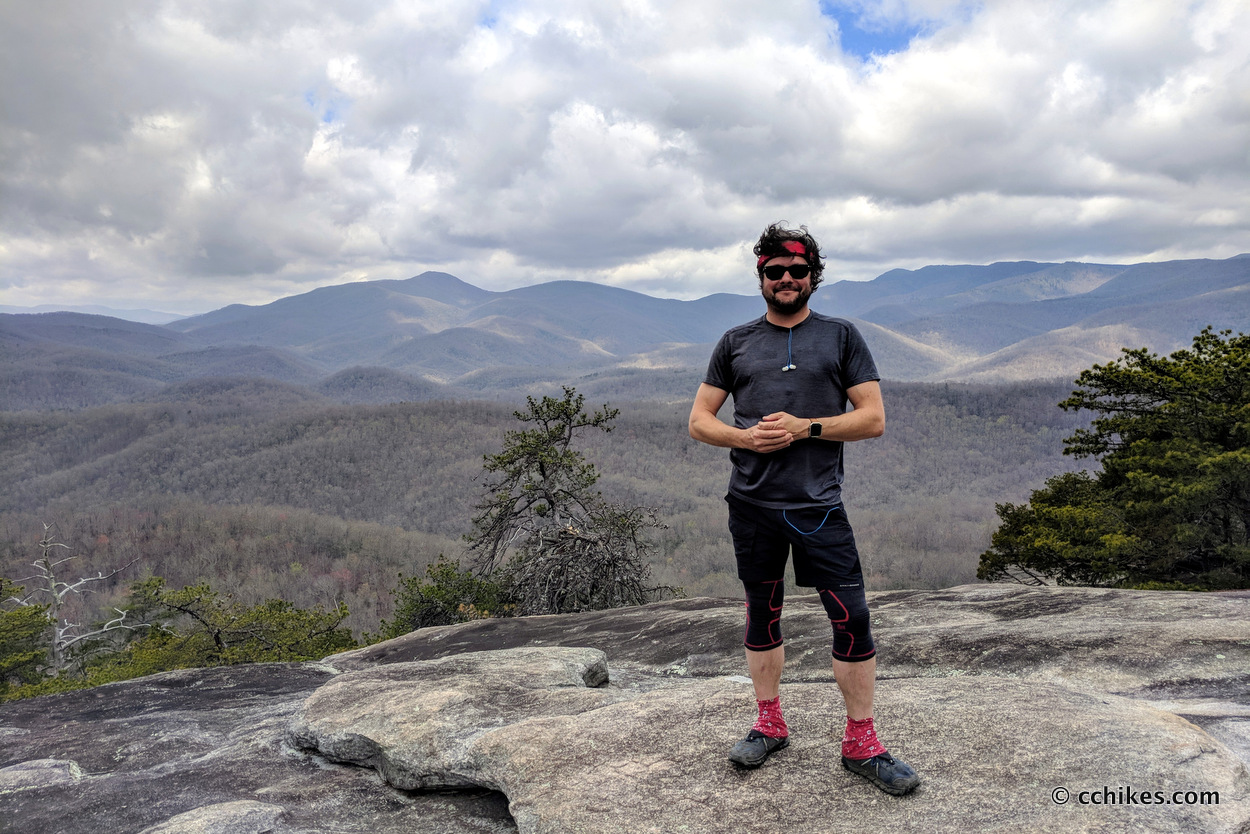
I thought about including this as an update to my previous post about this hike, but I thought this might make for a better standalone trip for someone who’s out of shape like I was when I first climbed the mountain (you can watch me lose weight as you browse through my Instagram posts at the bottom of the page). That way, a person could make the sub-summit overlook their initial goal and then follow up with another trip to make it to the top of the mountain.
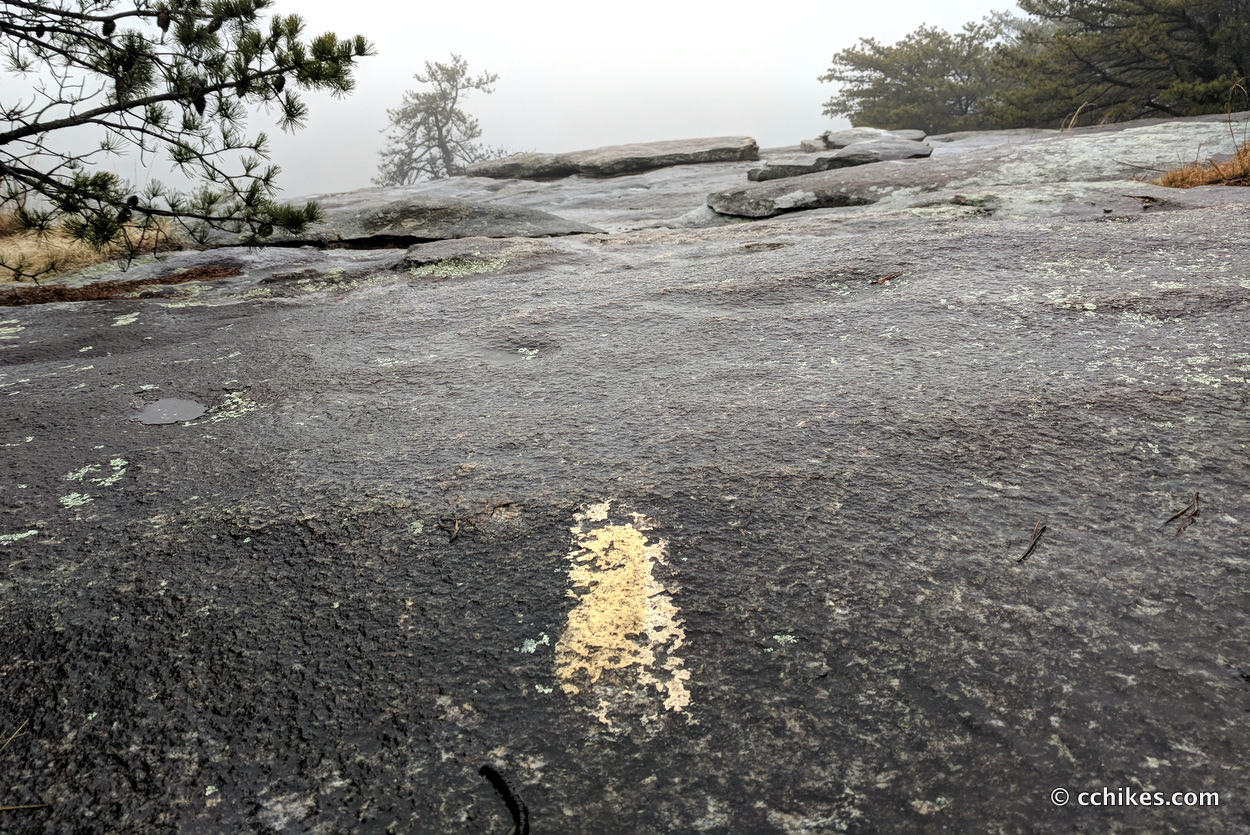
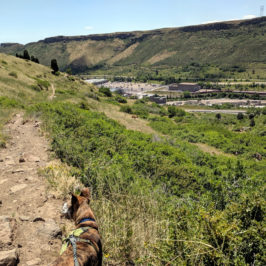
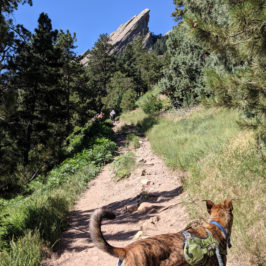
You can use the map point below to get to the trailhead. I don’t have a GPS point to show when you should get off the trail to search for the overlook, but I’ll try to describe it. The first half of the trail is wooded and largely features switchbacks. After that, the trail becomes more badly eroded with muddy ruts and sometimes steep steps. After a little while of hiking on this terrain, keep your eyes open for side trails on the left. There are some false ones you can ignore if they don’t feature a large rocky bald with a faded white “H” for the helicopter landing area. You’ll know its the correct side trail if you see a faded yellow blaze painted on the rock near where the side trail intersects with the main trail. These hard-to-see blazes will confirm that you’re going the right way.
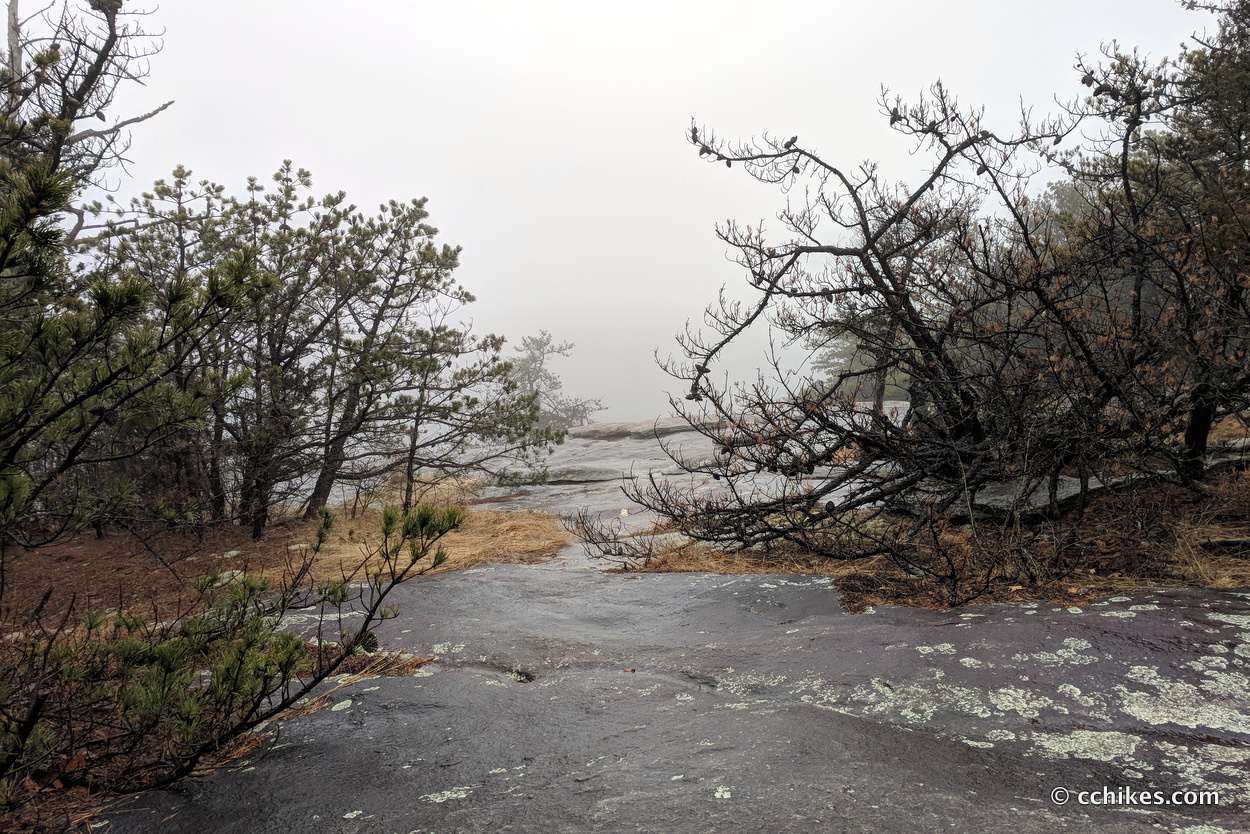
If you put your back to the main trail and look out over the rocky bald, you’ll walk to your 2:00 (slightly uphill). Keep your eyes open for the faded yellow blazes on the ground. You’ll pass through some flora and then will come to some more rocky ground. At this point, you’ll head toward your 10:00 (slightly downhill). Once again, keep looking for the blazes on the ground. You’ll step down and pass through still more flora. After that, you’ll see another faded yellow blaze and the overlook.
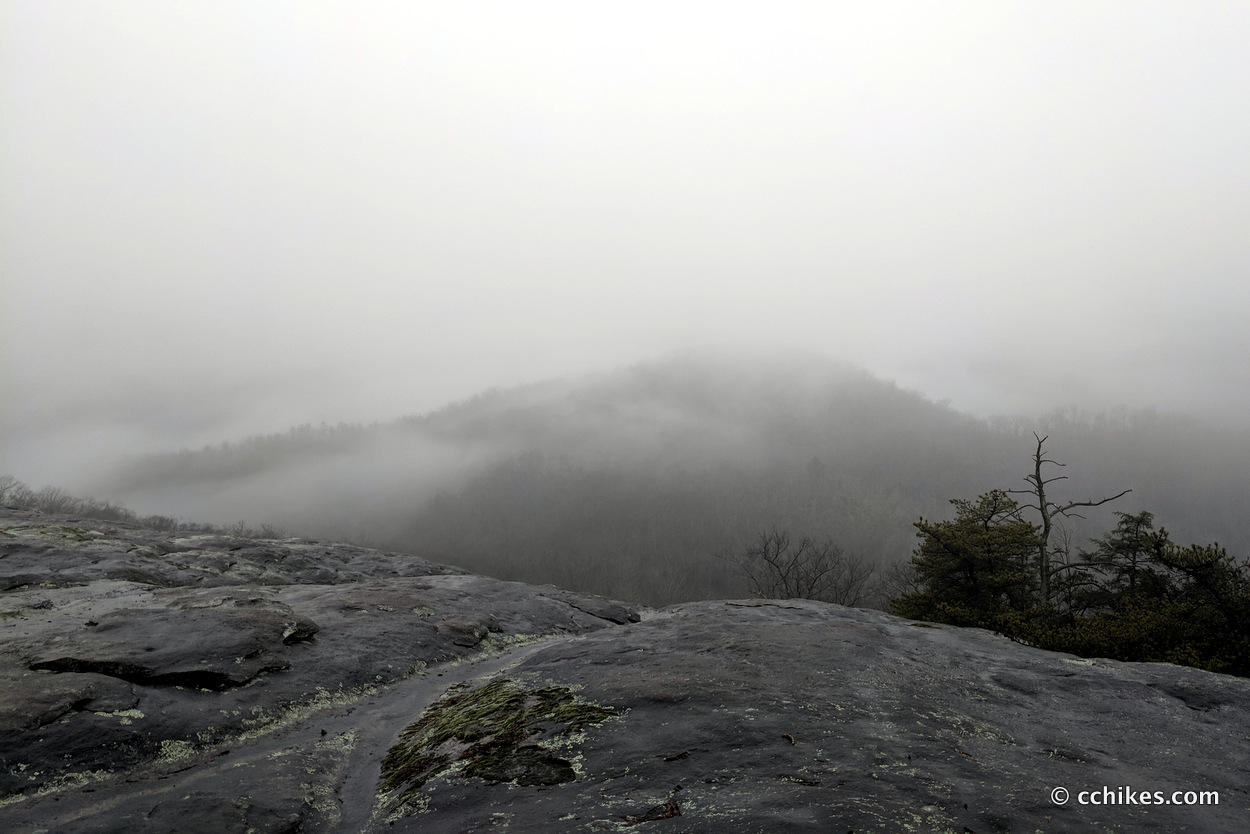
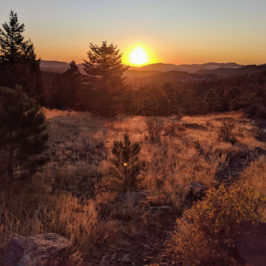
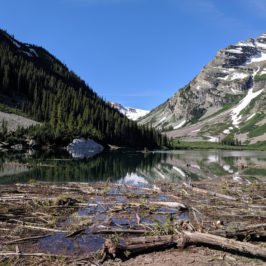
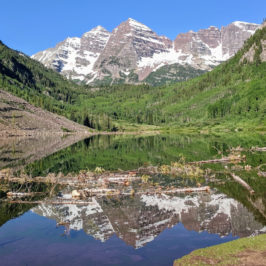
I’ll get back soon and take some pictures on a prettier day. Whether this is just a stop on your way to the summit, or you choose to head back to your car after making it this far, the view from this overlook is a fun spectacle worth the effort.
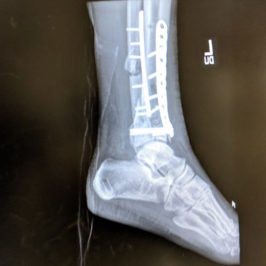
As I’ve said before, trekking poles and knee sleeves are very effective at minimizing knee pain on climbs like this.
This hike reminded me of the first time I went up Table Rock. I tend to get excited about hiking on misty days when most people choose to stay in. I like having the mountains to myself, even if the views suffer. Plus, I can experiment with my wet weather gear.
Update
I went back on a pretty day and got some more pictures. I’ve added them to the slider above.
Leave a Reply